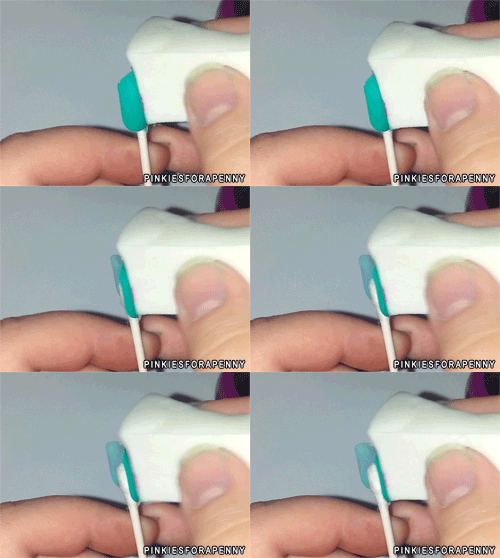
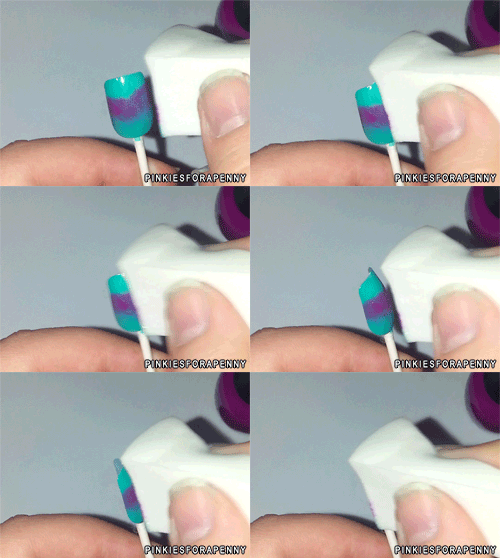
So today I'm gonna show you how to do a gradient, the way I'm most comfortable with. A lot of my friends see what I do and wanna know how I do it. So here goes!
What you'll need: At least two colors of nail polish, a damp makeup sponge, top and base coats, nail polish remover and q-tips for cleanup (or tape if you'd like. I don't recommend using petroleum jelly or lotions on the edges of the nails).
Step one: Base coat. Paint the less opaque color on the nail. Get it as even as you can, but you don't have to go nuts and get it perfect. You'll be adding another couple of layers later. If you're using a more transparent nail polish (or any neon, really), use a white base color first. If both of the polishes are fairly transparent, just use a layer of white and sponge directly on the white.
Step two: Apply polish to the sponge. Place the colors right next to each other, so they're touching. If they mix a little, that's fine. For this gradient, I used two shades by Finger Paints, Fifteen Minutes of Frame and Pop Art Purple.
 |
| Get them touching. Like that awkward Trojan commercial. |
 |
| Back and forth.... Baaaaaaack and fooooorth... |
 |
| Thanks to my buddie, Jaxo for the .gifs! |
 |
| I used this nail to practice sugar spun nails. I like it! |
I hope this helps! If you have any questions, please leave them in the comments :)

No comments:
Post a Comment